Confessions of a first-time GIS user: part one
This is my first time ever properly using GIS software. There, I said it.
If I am being entirely truthful, I did use it once, in a grad seminar my supervisor ran a few years back. Okay, fine, probably closer to a decade ago. It was a great entry point, and like many of us do with many things, I treated it as a shiny new toy I enjoyed for one weekend and then never touched again. It sat in the drawer of skills I wasn’t even sure I would come back to someday.
But then “someday” arrived when I successfully defended my prospectus and sat down with my supervisor immediately afterwards, and was told, in so many words, to get rather friendly with GIS for the first stage of my dissertation research. So I did what any reasonable person does with a clear and slightly intimidating instruction. I put it off as long as I possibly could.
First, though, a little context for why an archaeologist is suddenly living in mapping software at all. My dissertation reads Timgad’s houses spatially, block by block, comparing the neat walled grid against the messier neighborhoods that grew up outside it. To do that, I need every house in one place and anchored to where it actually sits on the ground. And here is the catch that makes this harder than it sounds: only a handful of Timgad’s houses have ever been drawn up as individual house plans. For most of the city, what exists is the same large grid plan, surveyed once and then reused and reproduced for decades on end, a lovely overview that tells you where the blocks sit but almost nothing about the walls, rooms, and thresholds inside them. GIS is how I begin to fill that gap, turning scattered drawings and satellite imagery into a single map I can actually read a house from.
The very long warm-up
I want to be honest about this part, because I think a lot of researchers will recognize it, even if we struggle to admit it to ourselves at times.
When a project asks you to learn a genuinely new method, it is easy to retreat into the work you already know you are good at. For me that meant reading, close textual analysis, and working through old excavation reports and the secondary literature. The things that feel like home to me, academically speaking at least. Nothing beats an actual home, of course. I study houses for a reason, clearly, although we are getting off topic now. Every hour I spent in what was second nature for me research-wise was a genuine and rather real hour of research, but it was also, quietly, an hour I was not spending learning to draw a wall in QGIS, much to my supervisor’s dismay. And there was always an excuse, always more to read, more to research, more to “know” before I felt truly “ready.”
I even built an entire website. Hello, timgadhouses.org. Yes, that is quite literally how this site came to be, a last-ditch effort to further procrastinate doing something relatively simple but also plainly uncomfortable. Somehow creating a website from scratch felt more in my wheelhouse than using GIS software. Now, this is a real scholarly home for this project and I am proud of it, but again, if we are being candid, which, hi, we very much are, it was a very productive way to avoid actually drawing these houses. Procrastination with a custom domain is still procrastination. It just has better typography.
What I will say, for anyone stuck in the same warm-up loop, is that the avoidance was not the enemy I thought it was. Some of it was me building the scaffolding I needed to feel steady enough to start. At a certain point the scaffolding was done, the excuses ran thin, my supervisor can further attest to this, and I finally settled in. And once I started, the thing I had built up into a wall turned out to be a door.
Step one was not software at all
Here is the part that surprised me most. The first real step in my GIS workflow had nothing to do with GIS.
Before you can georeference anything, you need something to georeference. For me that meant the published excavation plans of Timgad’s houses, the drawings made by the people who dug these blocks over the last century and more. And those plans live in books, scattered across libraries in North America and a few across the pond. Some of these volumes are old, large, and not exactly available at my local branch, nor were they light to carry, mind you.

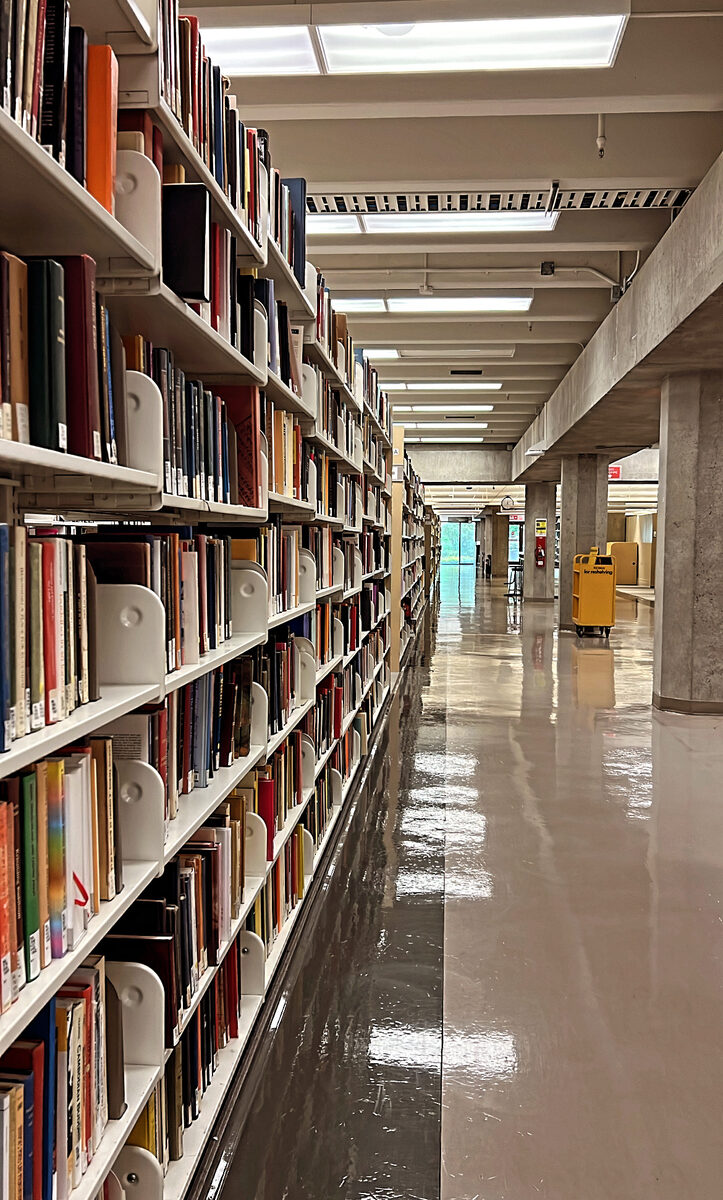
So step one was a month of detective work and a great deal of patience. I owe an enormous thank you to the interlibrary loan librarians at UBC, who tracked down volume after volume for me, including some that took real effort to locate. ILL librarians are unsung heroes of any project like this.
A fair question here is: a lot of these books are already digitized, so why bother with the physical copies? Two reasons, and both of them matter for spatial work.
The first is the foldouts. Many excavation reports include large fold-out plans bound into the back of the volume. When some of these books were digitized, whoever scanned them photographed the pages flat and never unfolded the plans, come on guys. So the single most important image in the whole book, for me at least, would be entirely missing from the digital version, or would show up as a sad folded rectangle. A pity, and yet a common one.
The second is resolution. Even when a plan was scanned, it was often done at the resolution of a standard library scanner, at a DPI too low to be useful once I zoom in to trace individual walls. A plan that looks fine on a screen at full-page size falls apart into mush the moment you need detail.
So a good chunk of that first month was waiting, and then scanning. I worked through the physical volumes on high-quality scanners, unfolding the plans properly and capturing them at high DPI so that the lines would hold up under magnification. Tedious, yes. The higher the DPI setting, the longer it takes to scan, think around 5 minutes per page. Yes, that was “fun.” But the quality of every spatial decision I make later depends on the quality of these source images, so it was worth doing slowly and doing once. I owe that advice to my wise supervisor, who truly was there to advise me every step of the way.
Alongside the plans, I gathered the other layers I would need, chiefly satellite and aerial imagery of the site, so that the historical drawings would have something real and modern to be matched against. This part is less straightforward than it sounds, because not every satellite image of Timgad is actually usable. Cloud cover is the obvious problem. A single bank of cloud sitting over the site can hide the exact walls I need to see. The subtler problem is shadow. Imagery captured when the sun sits low throws long shadows off every standing stone (confusing for colonnades and the like), and then those shadows can swallow a wall line, or worse, masquerade as one that is not really there. So I found myself doing something I never expected to care about, comparing captures of the same patch of ground taken on different days, hunting for the clearest, flattest-lit, least-clouded version. I leaned on high-resolution imagery from providers like Airbus alongside the standard basemaps, weighing each scene for clarity rather than just grabbing the first one that loaded. A clean, low-shadow image makes every later step easier, and a bad one quietly sabotages your tracing before you have drawn a single line.
Georeferencing, or teaching a flat drawing where it lives
With the plans scanned and the imagery in hand, I finally opened QGIS for the project in earnest. The first real GIS task was georeferencing.
Georeferencing, not that I am the expert, only having done it a handful of times, but here we go, is the process of taking an image that knows nothing about the world, a scanned drawing, and telling it where on Earth it belongs. You match points on the old plan to known locations on the satellite imagery, the corner of a known structure, an intersection of streets in the grid, a fixed feature you can identify in both. Place enough of these matched points and the software can stretch, rotate, and settle the historical drawing into real-world coordinates so that it overlays the modern site correctly.
When it works, it feels a little like magic. A drawing made by a French excavator a century ago suddenly snaps into place over a satellite image, and the walls he recorded line up with the stones still standing today.
When it does not work, it teaches you patience. Old plans are not perfectly accurate, paper distorts, and excavators drew with the conventions and the errors of their moment. Part of the skill, it turns out, is knowing how much to trust each source and where to let the modern imagery win.
That is where part one ends. The plans are gathered, scanned, and anchored to the real world. The map is finally ready to be drawn on.
There is no such thing as “ready”
For now, the confession stands. I am a first-time GIS user, I avoided it for longer than I would like to admit, and the work that finally got me started was not glamorous. It was a month, or three, of emails to librarians, stacks of borrowed books, and many visits to a specialty library with a high-quality scanner. The software came after.
And when the software finally arrived, I promptly got it wrong. The very first time I georeferenced my plans, I set every single one to the wrong coordinate reference system. If you do not yet know what a CRS is, do not worry, part two will get to it. For now, just know that it is the setting that tells QGIS which model of the Earth your coordinates are measured against, and that choosing the wrong one sends your beautifully matched plan to roughly the wrong place on the planet. So I had done all the careful, patient work of anchoring each drawing, and then watched it land in the wrong spot. Every plan. I had to go back and redo the lot.
Here is the thing I would tell my past self, the one still reading one more report in order to feel ready. There is no such thing as ready. We spend so much time thinking and planning and gathering, as if preparation were a door we eventually walk through into competence. It isn’t. Ready is really just beginning, and then redoing, and then redoing again. The wrong CRS was not a sign that I shouldn’t have started. It was the start. The hardest part was never the software, or waiting for inter-library loans to arrive, or the tedious scanner process. It was taking that first action before I felt prepared to, and then being willing to do it badly, and then to do it again, until it was right.
With the plans (finally) anchored, the real work could start. In part two I will walk through the drawing workflow I settled on, block by block, house by house, and the decisions that turned out to matter most, including the surprisingly stubborn question of what counts as a wall, how to handle the gaps, and what to do when a source contradicts itself.
Also shared on Instagram.